Rare Earth Utility Rack

$95.00 – $120.00
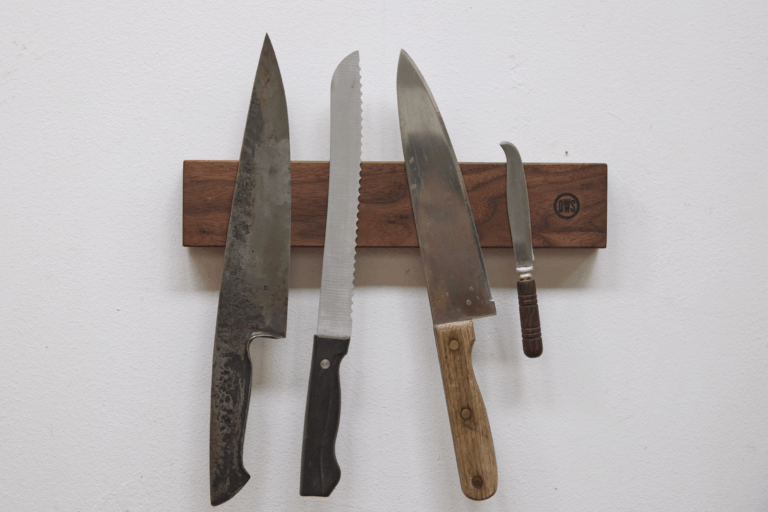
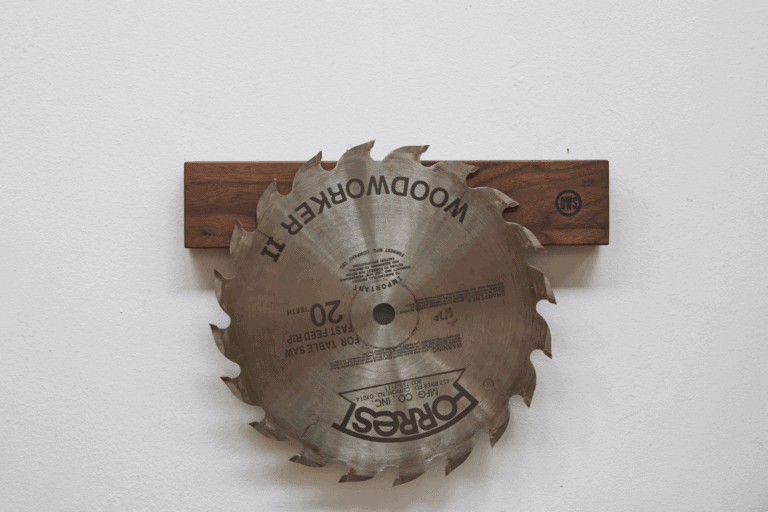
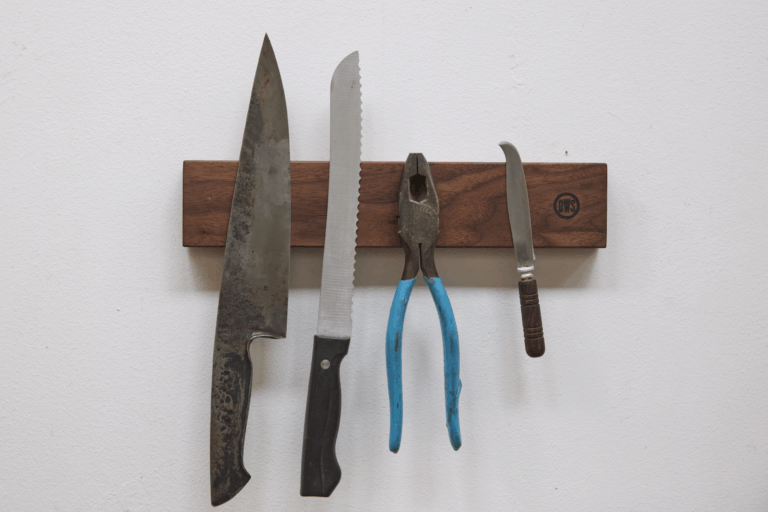
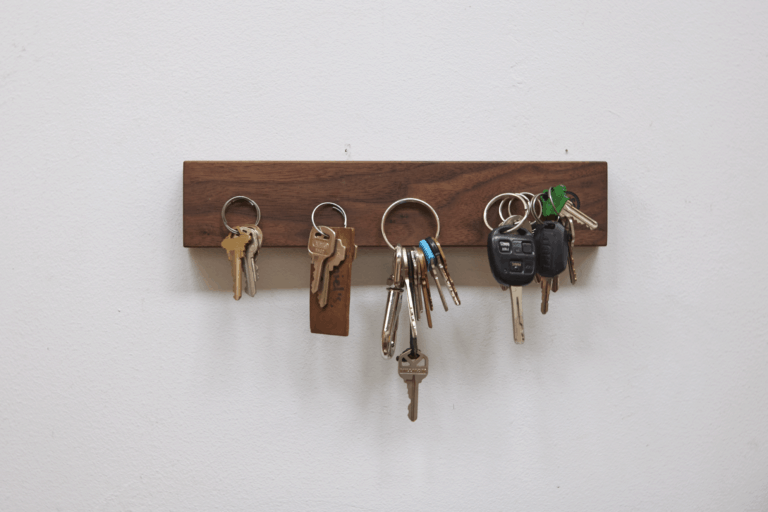
How organized are your knives? How well hung are your tools?
Are your slicers, dicers, pokers, and pinchers all lined up neatly for easy access?
Well now they sure as hell can be, with Offerman’s Rare Earth Rack.
It’s like a toolbelt, but for your wall.
Whether you need to save some space in your shotgun shack’s kitchen or better compartmentalize your countersinks, this compilation of strength and stability will be there to magnetize and organize your most important mess.
Particulars
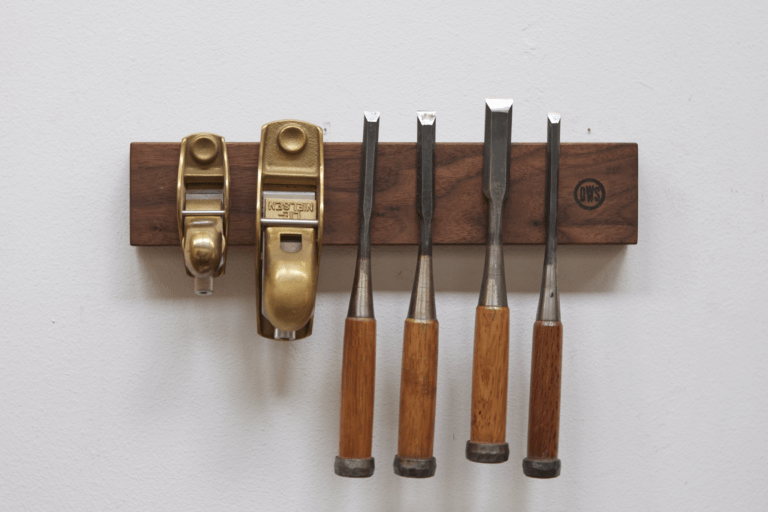
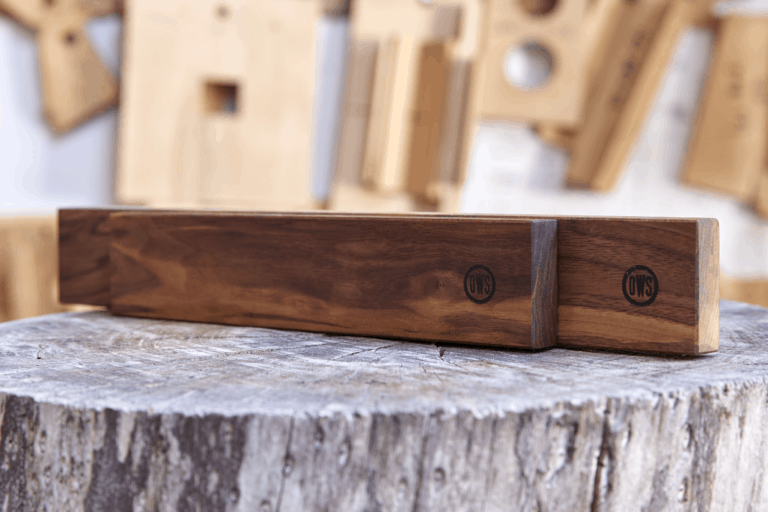
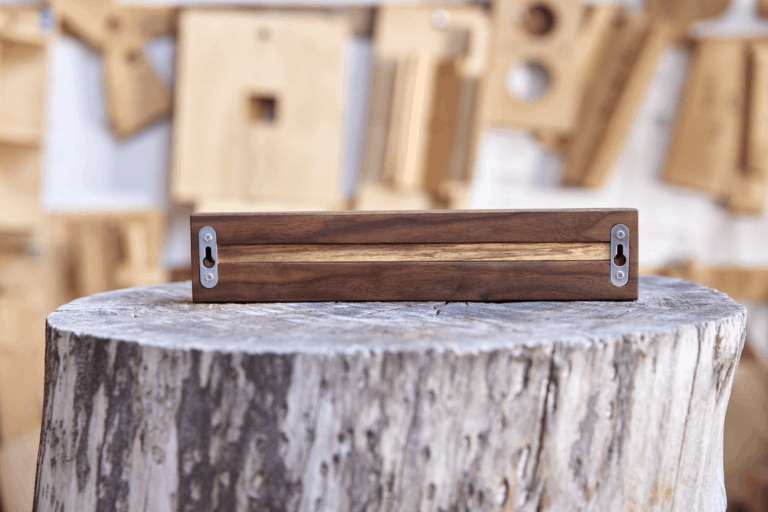
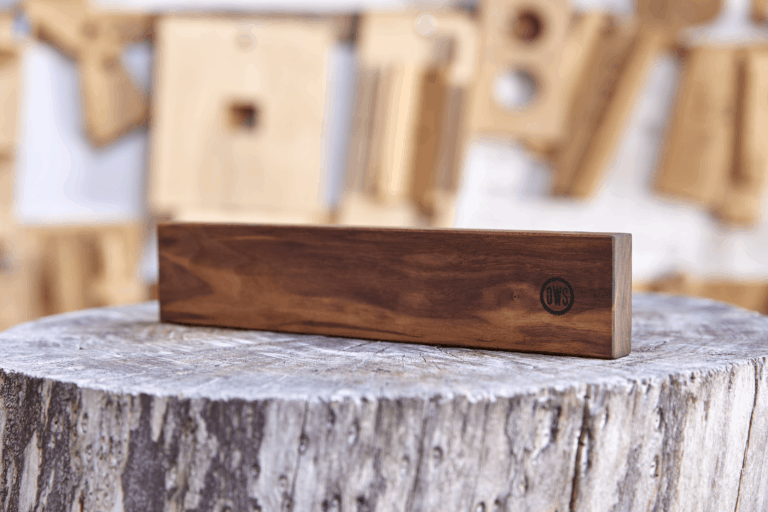
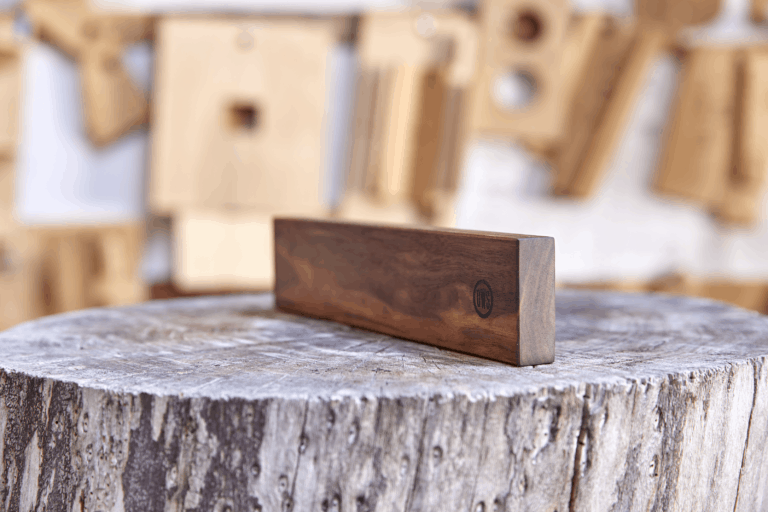
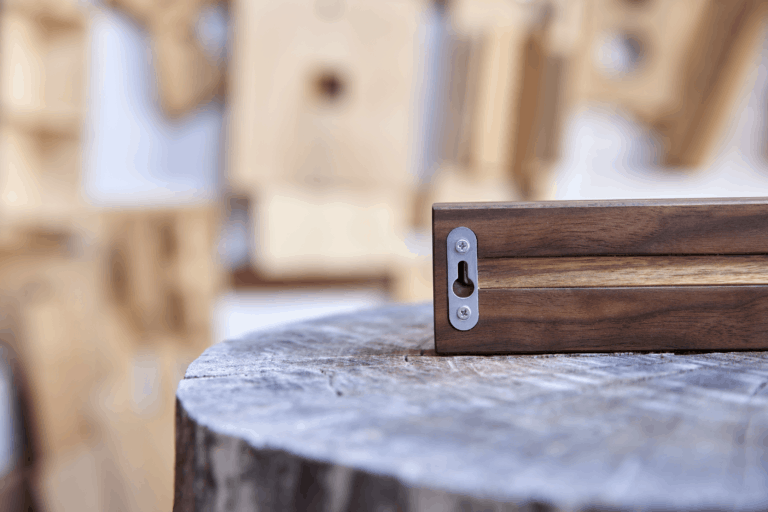
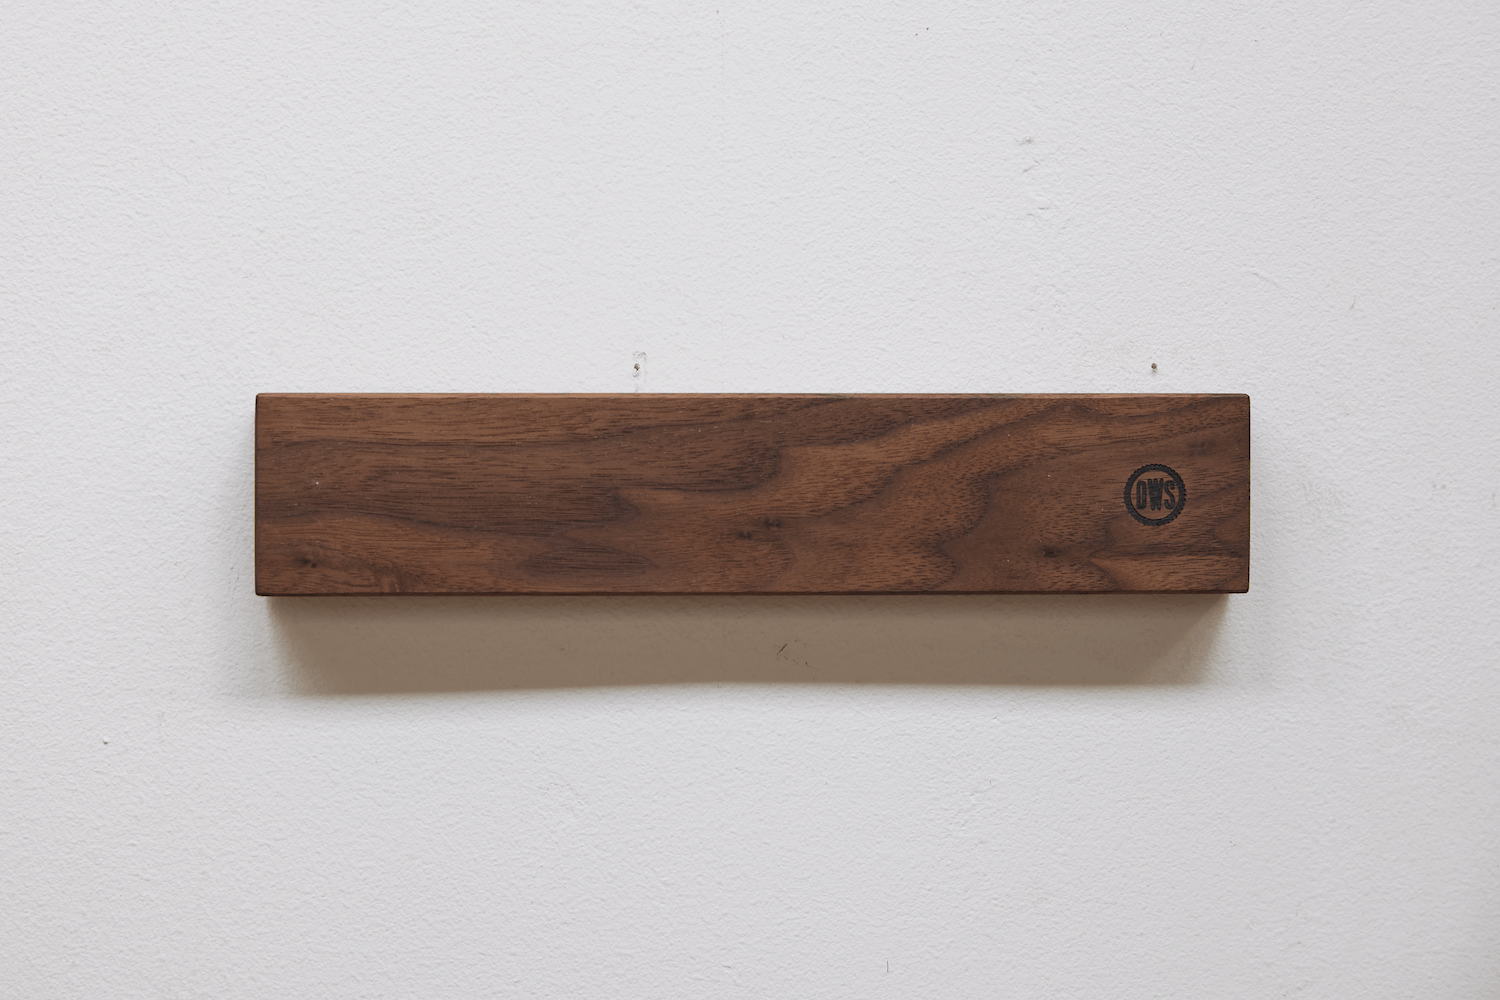
These handsome lengths of American Walnut have been shoved full of rare-earth magnets and then securely closed back up with two-tone Walnut plugs. Routed with snug, easy-to-install keyhole hardware on their backsides.
Screws not included, drywall anchors may be needed.
Comes with easy install instructions.
Branded with our stately seal on the right side, can be customized with up to 3 characters on the left side.
—
Please get to know this piece of equipment with care! We wanted them to work well, so we made them work very well.
SIMPLE INSTALLATION INSTRUCTIONS
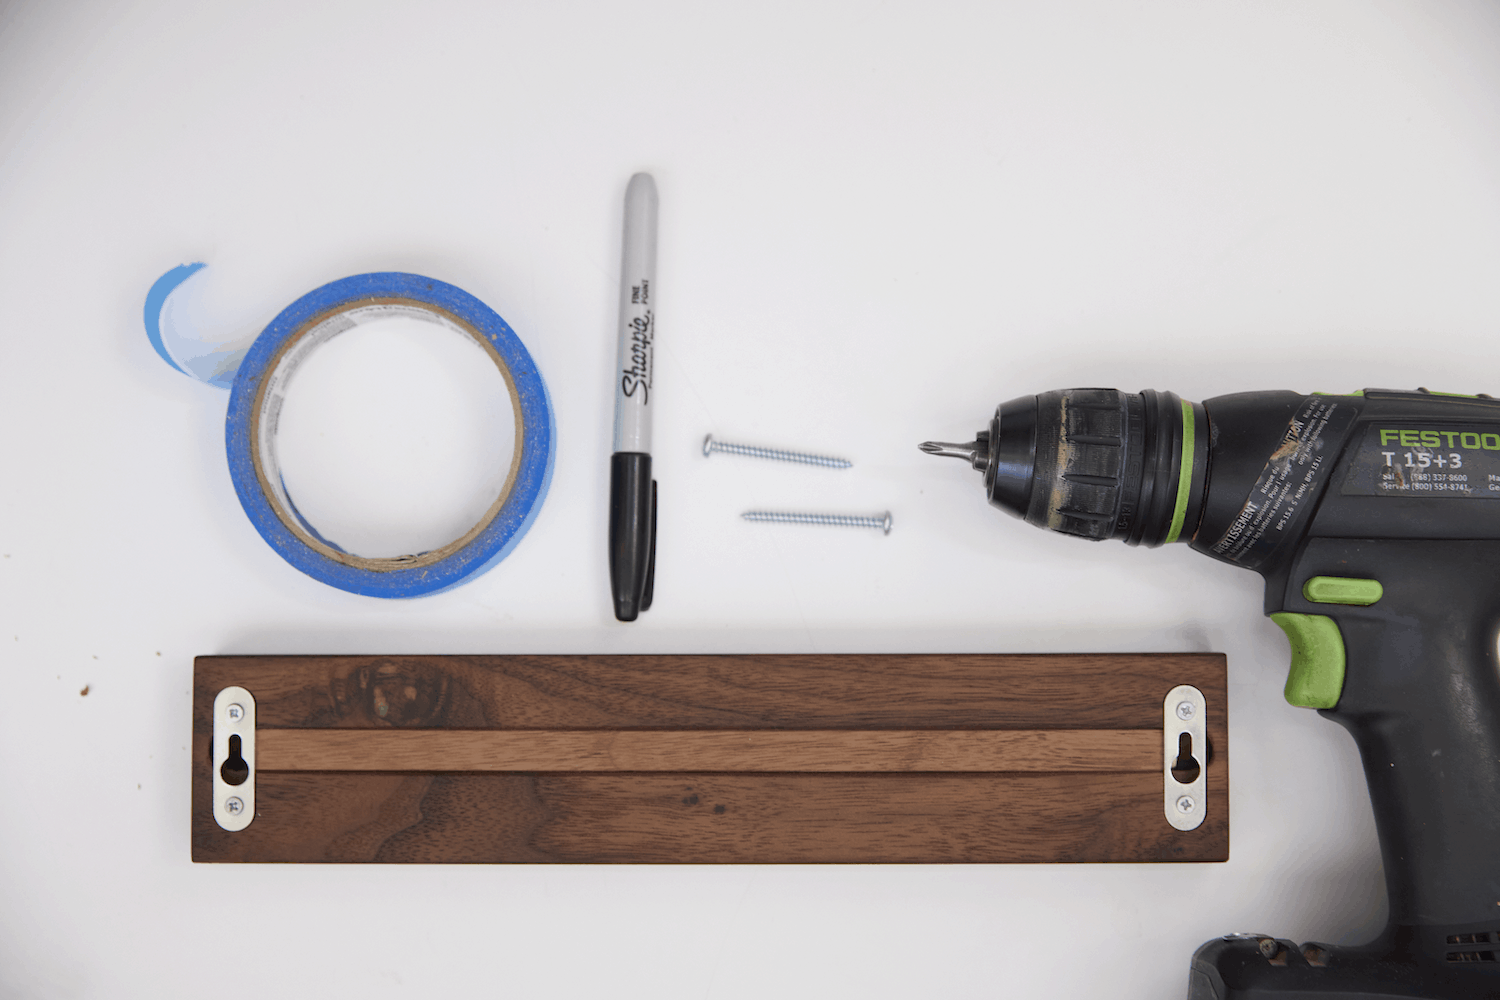
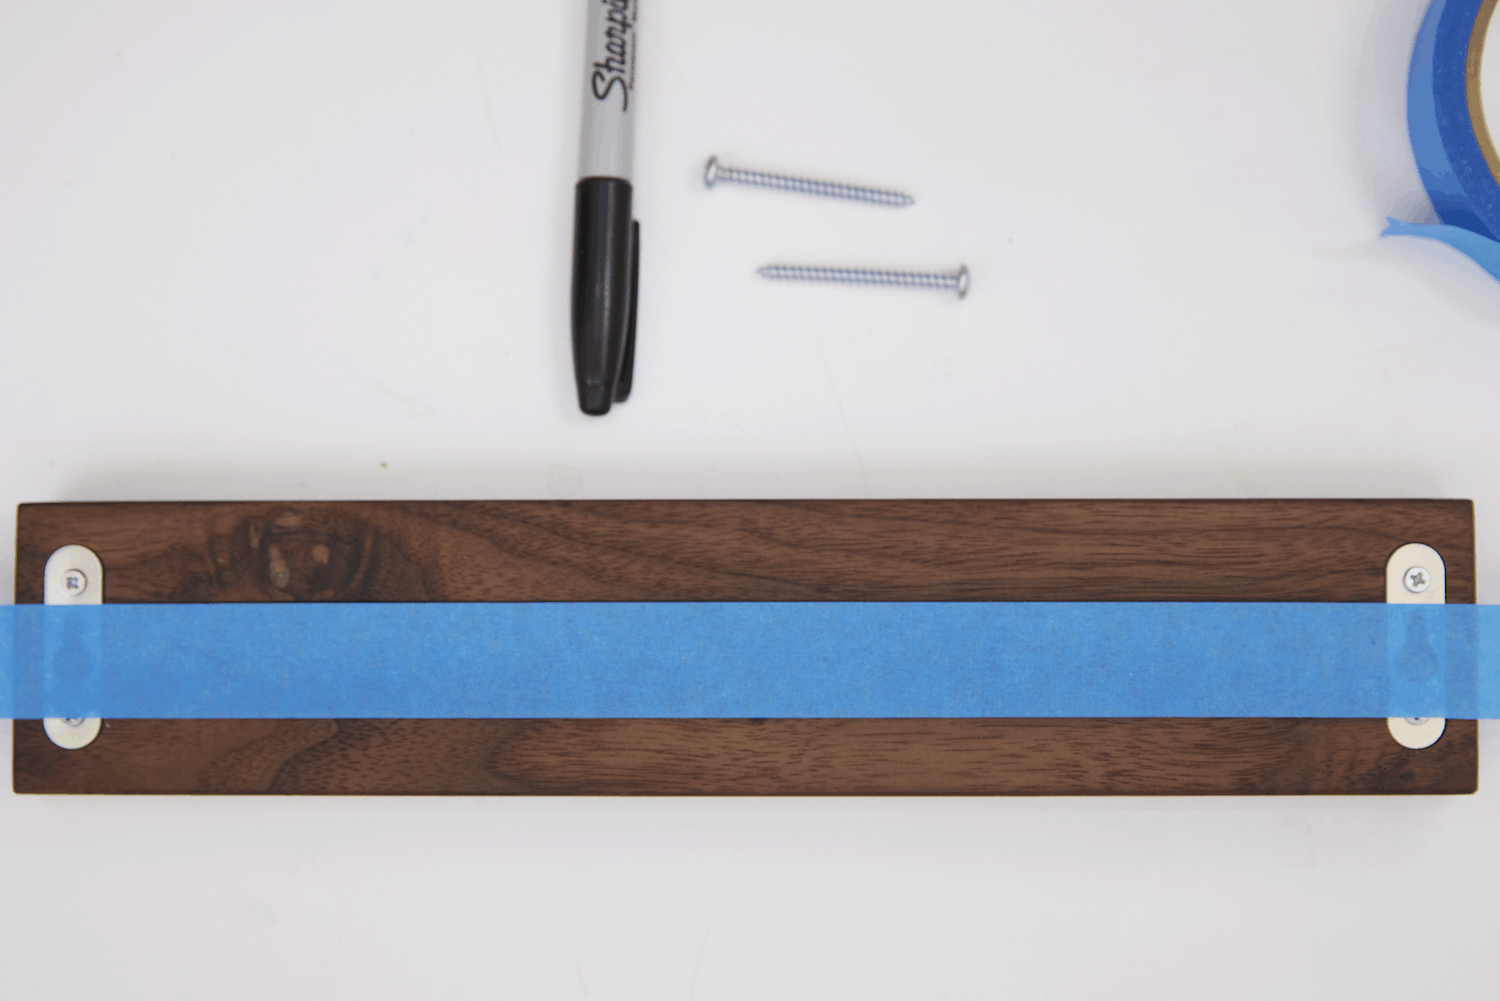
Above: These are the things you will need to get your Rare Earth Utility Rack up & running. Depending on what you’re attaching it to, you very well could need drywall anchors. These can be easily purchasable at your favorite mom n pop hardware shop. Otherwise, you will need a pair of lengthy woodscrews. For maximum snuggness against the wall, we suggest pan head screws.
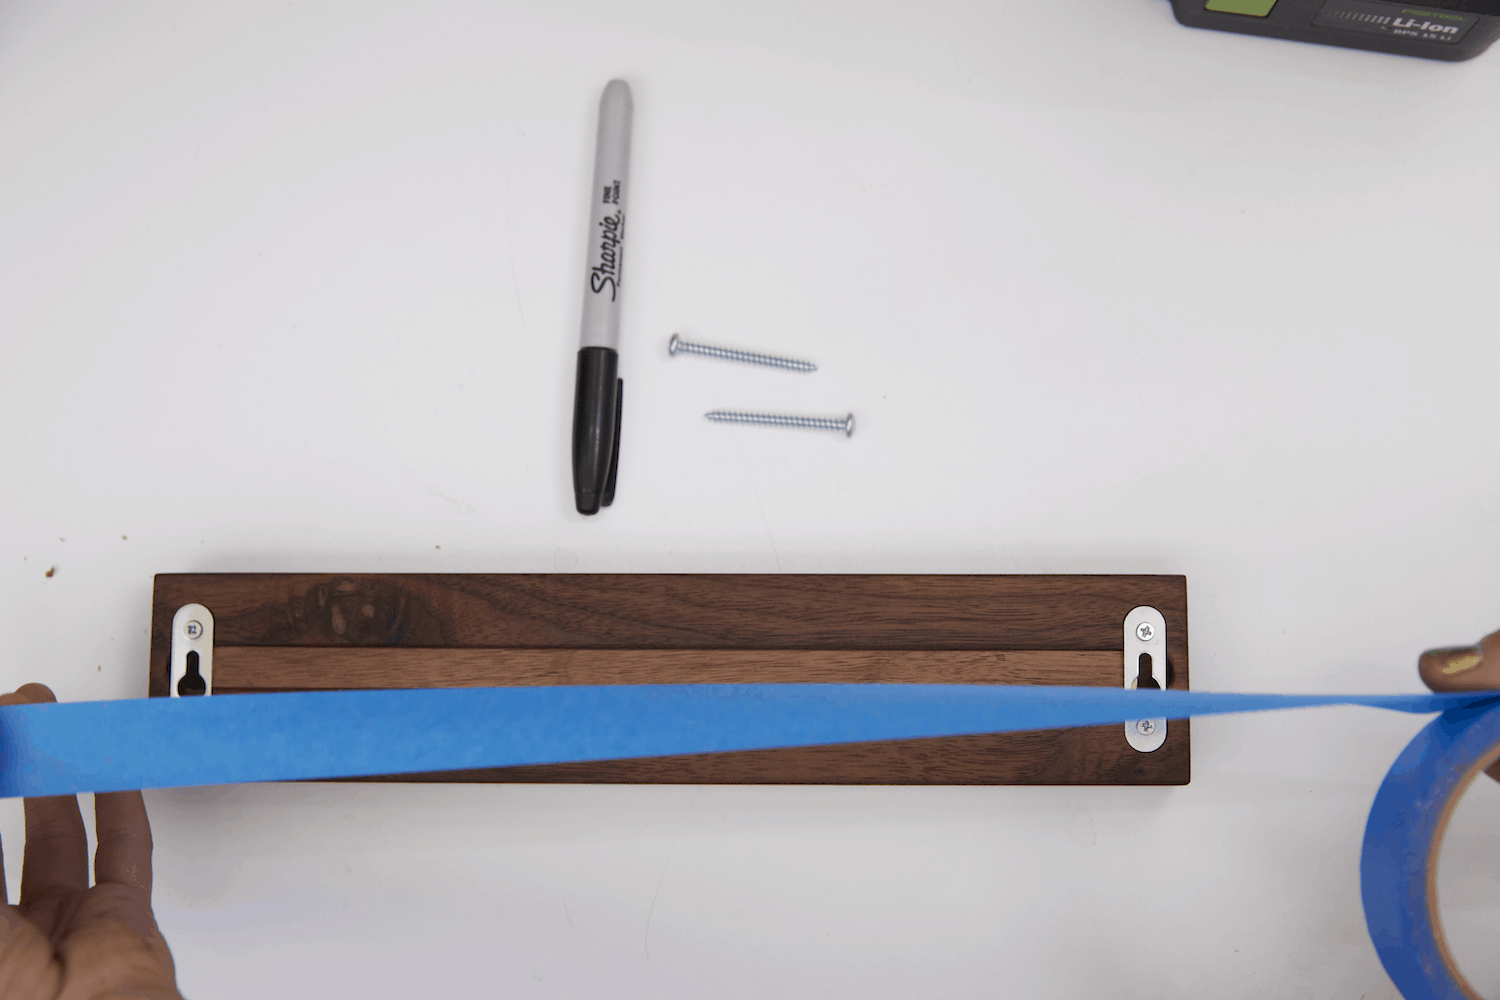
Step 1: Place a length of tape across the backside of your Utility Rack. Make sure to cover the hardware with the tape, as shown below.
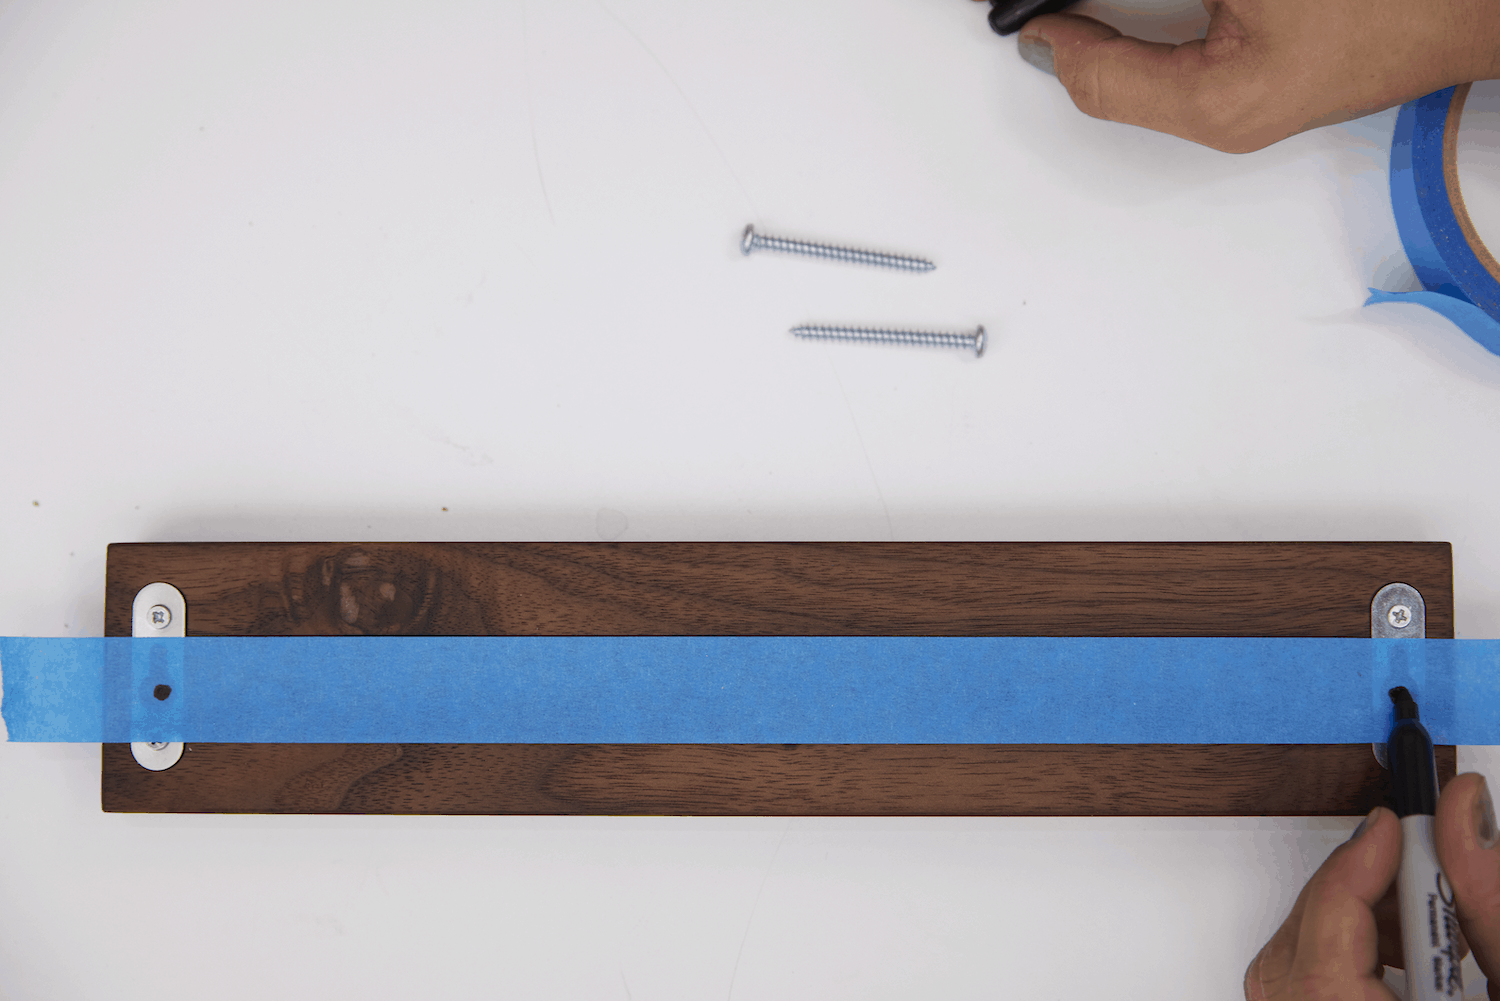
Step 2: Carefully make a mark on the tape over the big round hole part of the hardware.

Step 3: Remove the marked up piece of tape and place it on the wall, exactly where you want your Utility Rack to hang. For best results, we suggest using a level, as to make sure the Utility Rack will hang straight.
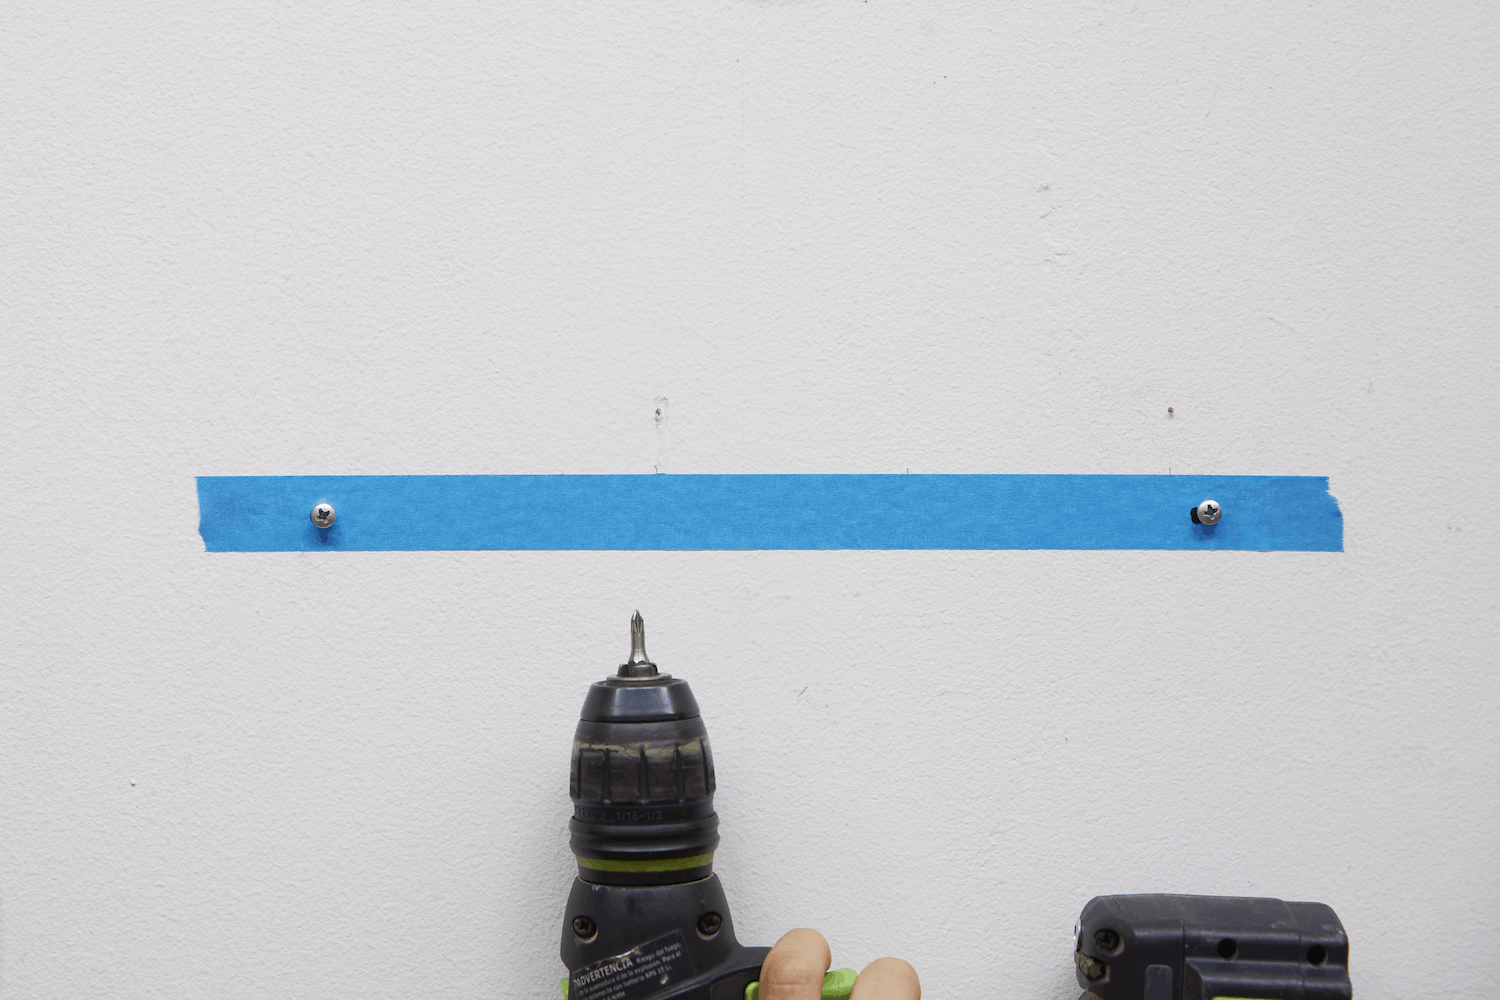
Step 4: Using your drill, drive a screw directly into each mark on your length of blue tape. Be sure to drill them in almost to where they’re touching the wall. (Note: If you hang your rack and it is a bit wobbly, it’s likely because your screws aren’t drilled in far enough.)
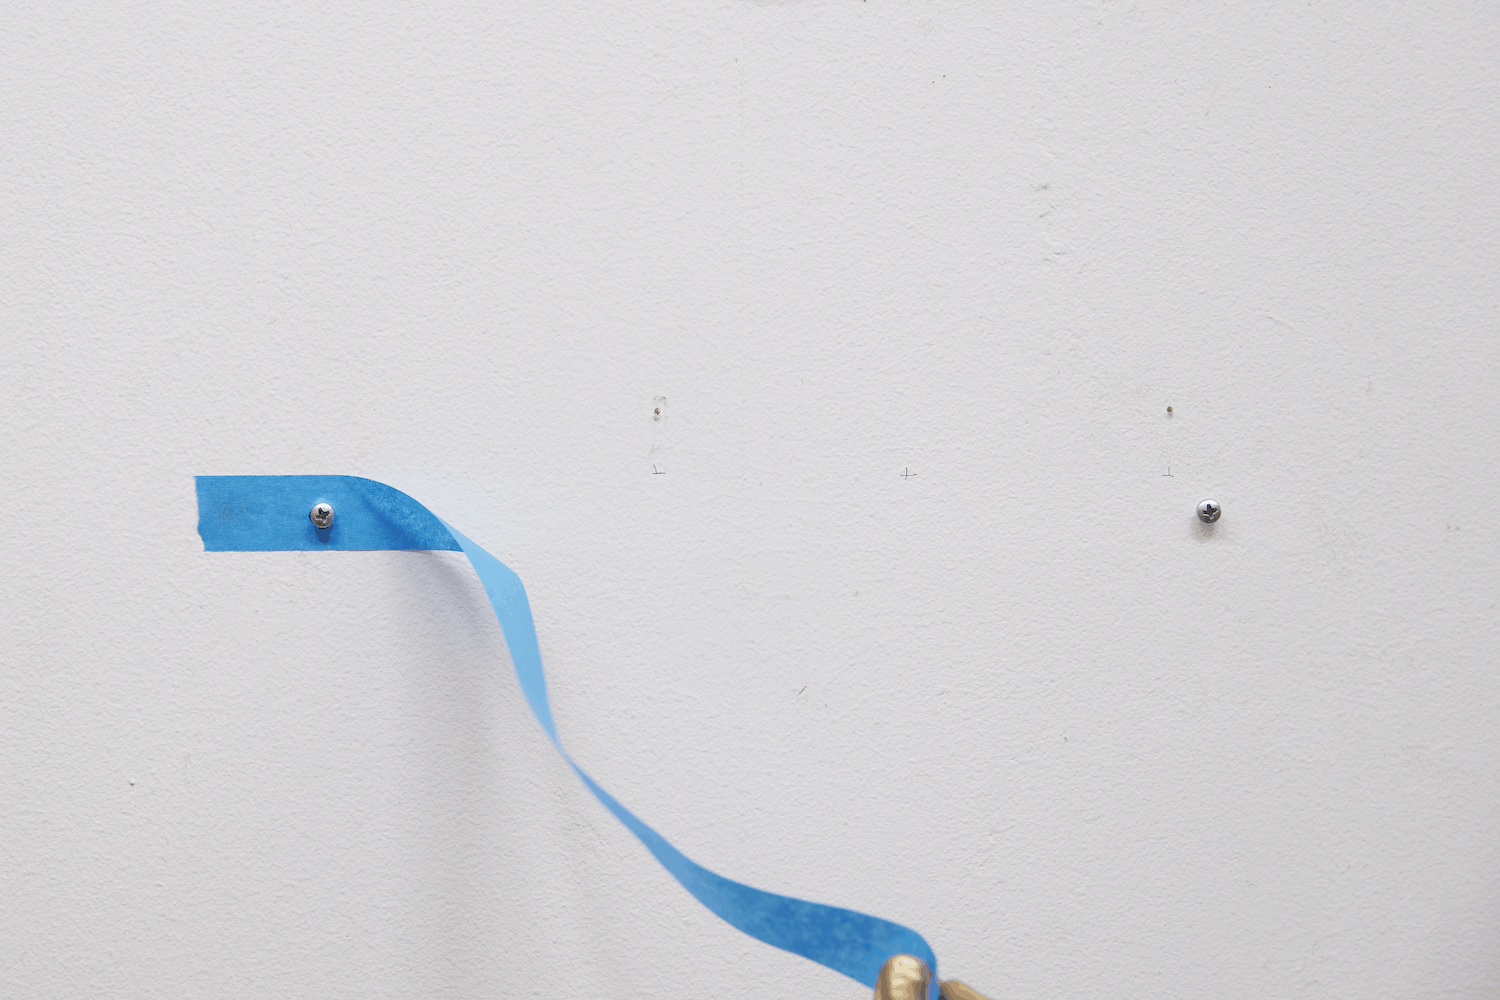
Step 5: Remove the blue tape, leaving the screws attached to the wall.
Step 6: The screws should be perfectly aligned with the holes of the hardware– place your Utility Rack on the screws, making sure they pop into the holes of the hardware, and then press down so they seat properly. Press down pretty hard! You should be able to feel when they’re firmly in place. Viola! You’re ready to magnetize & organize.